Changing a Tubular Tyre: the Basics
Changing a tubular tyre doesn’t require any tools or special skills, and if a tyre has been mounted before it is generally much easier to refit it back onto the rim. Contrastly, new tyres can be a real pain to mount, and it can take a lot of force to push the tyre onto the rim. Sometimes it seems an near impossible task to get the tyre on the rim all the way round, and as you push one section on, another section will come off, it can be frustrating. In these cases glue can get all over your hands and easily end up on the tyre itself. The key to a successful tyre change is in its preparation: the tyre should be properly stretched so in a few practice attempts the tyre should be able to mount the rim before the glue is applied.
The Key Points for Successful Installation
To reduce the possibility of failure in mounting a tubular tyre, some key points must be kept in mind:
- The rim must be cleaned and the new glue must not be put onto old residue
- Too much glue will cause the spillage onto the tyre and rim wall
- Too little glue will cause the tyre to be improperly mounted
- Glue the rim twice, separated by a twenty minute pause
- Make sure the tyre is completely mounted onto the rim in all areas
- Check the Valve area of the tyre for proper contact with the rim
- Add some pressure to the tyre and leave in a dry place for 24 hours
- Check carefully that all parts of the tyre are stuck fast to the rim
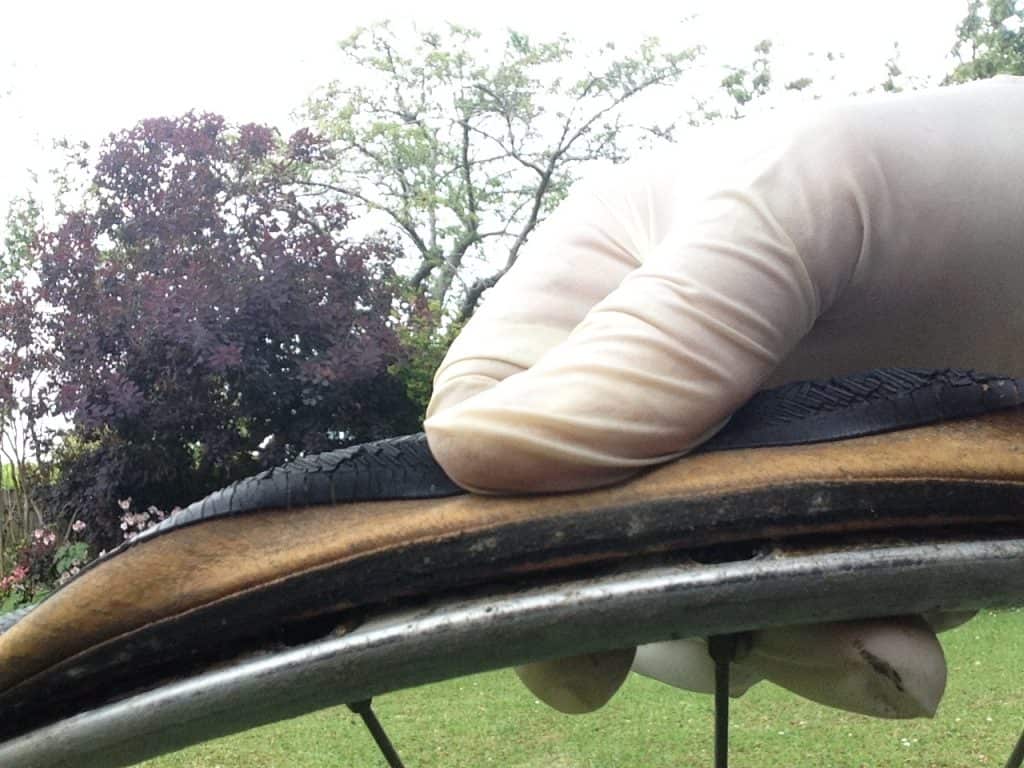
When the glue has dried and the tyre has settled for at least 24 hours, the tyre should be tested to see if it’s properly mounted. By pushing a thumb firmly against the tyre wall, you should see no lifting of the rim from the rim, no visual signs of space between tyre and rim, and no exposure of the glue which is a sign that the tyre is being pushed off its seat. If you can feel or see any of see movements, the tyre must be mounted again. Tubular tyres should be firmly set in place on the rim and feel rigid, before riding on them.


Recent Comments