Saving that Old Tubular!
Sometimes old tubulars look beaten and worn out, ready for the bin. Yet, often they are in better condition than they look, as good quality vintage tubulars were well made tyres. Old tubulars can look scruffy, often they can have unravelling nylon strands coming from the tyre walls, and they may have cracks and look lifeless. But brands like Vittoria, Clement, Wolber and Hutchinson made some superb tyres, durable and strong, yet supple for a good ride. The last thing you wanted as a road cyclist, back in the day when tubular tyres were king, was to have to change a tyre; no one wanted to have to go through the whole process of gluing on another with all the mess of the glue. What’s more, temporary fixes couldn’t be ridden on for long, so it made sense for these tyre brands to create long lasting, well-made tyres.
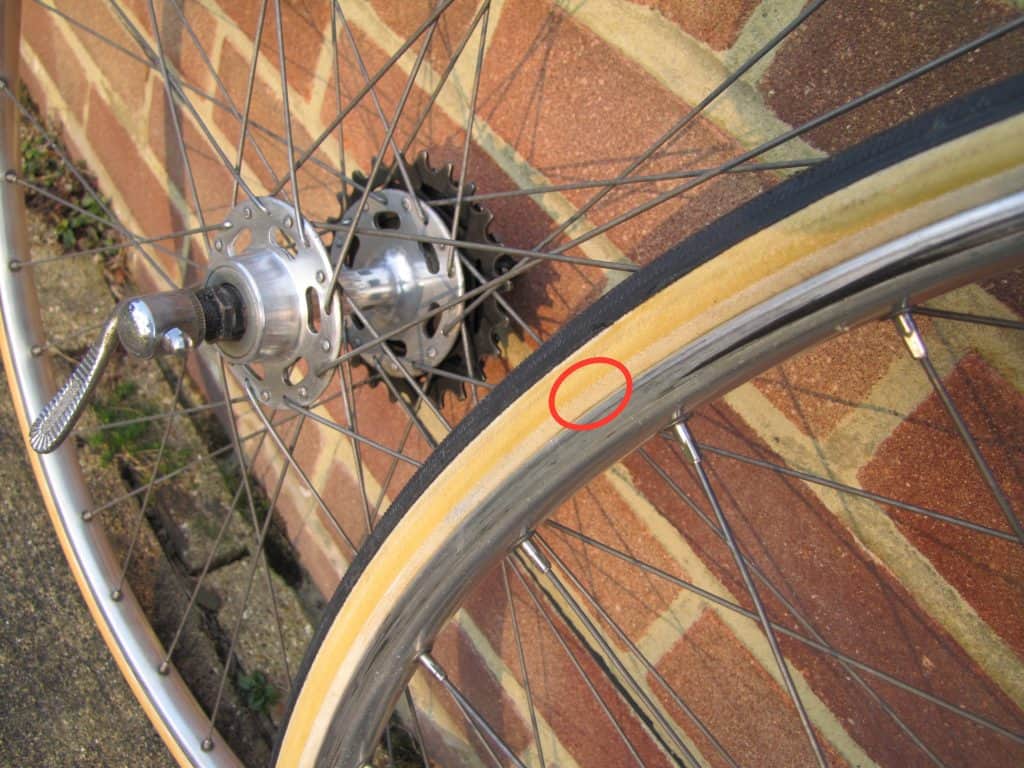
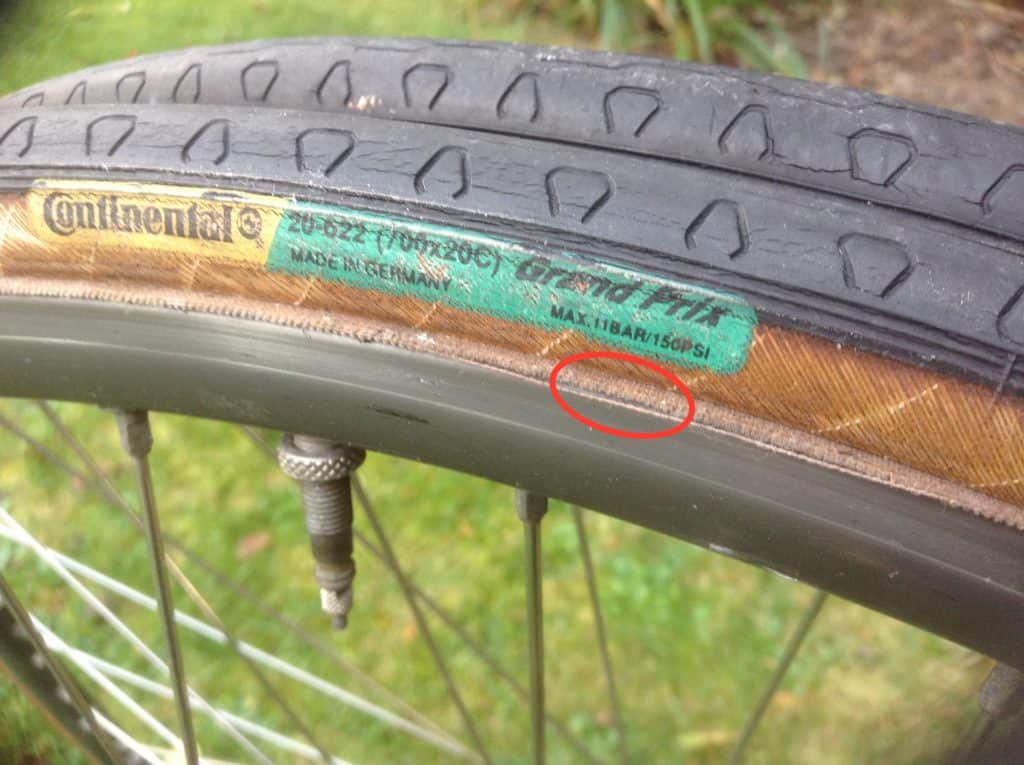
Attached Trim:
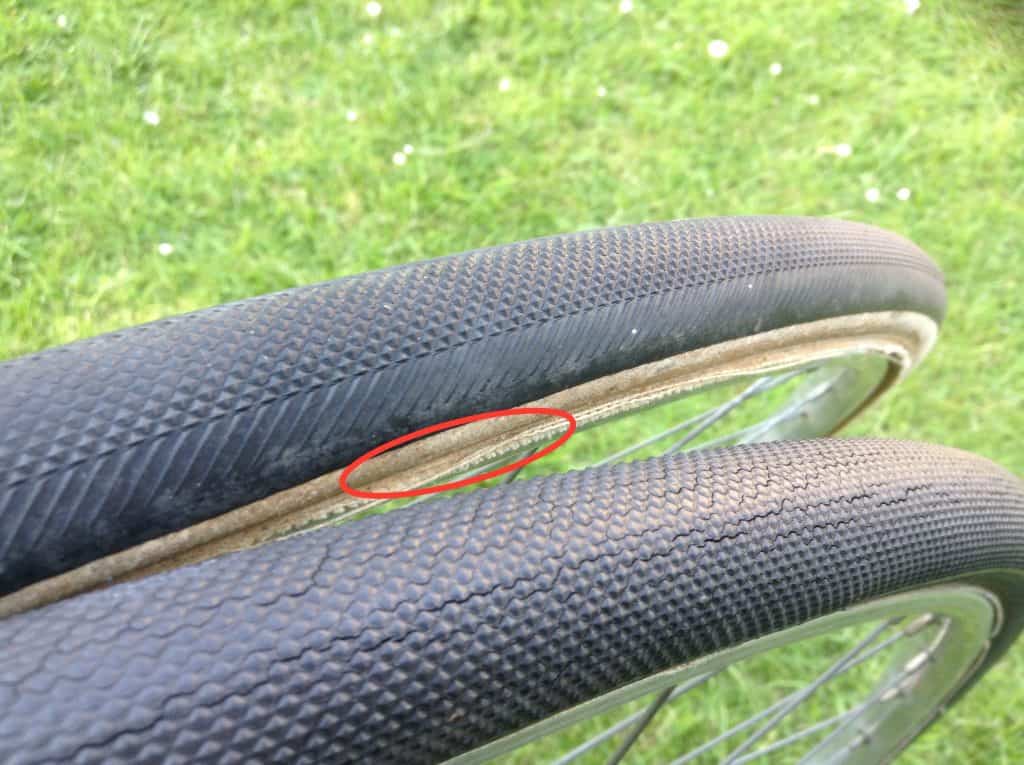
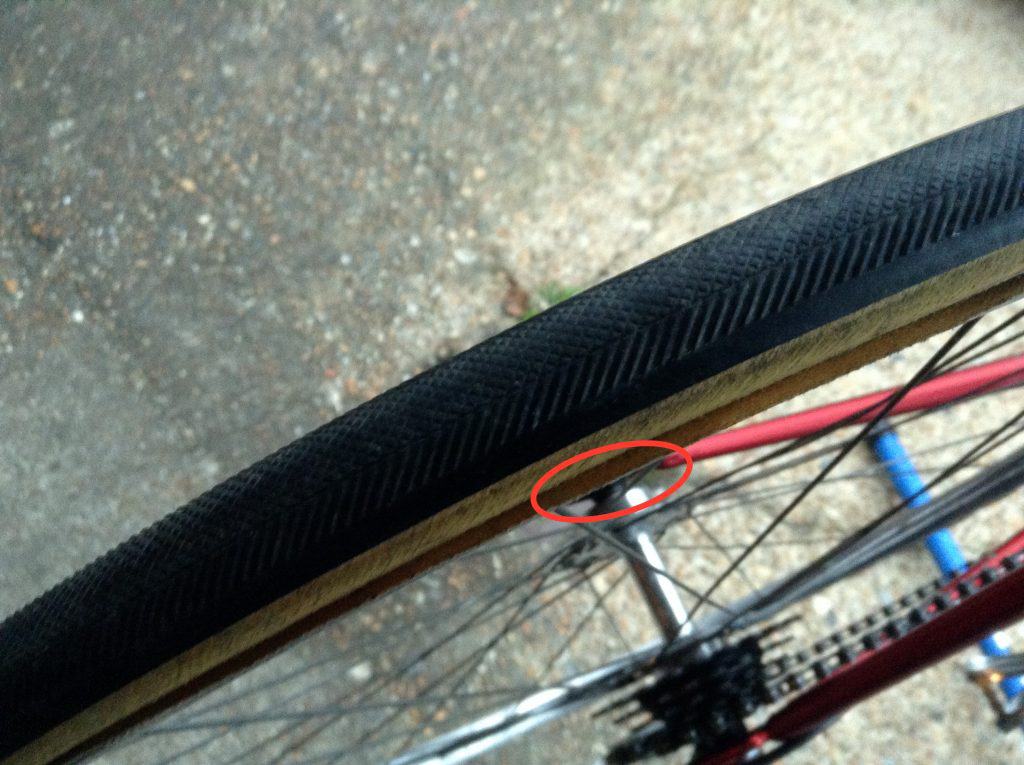
Loose Trim:
The Side Wall Problem
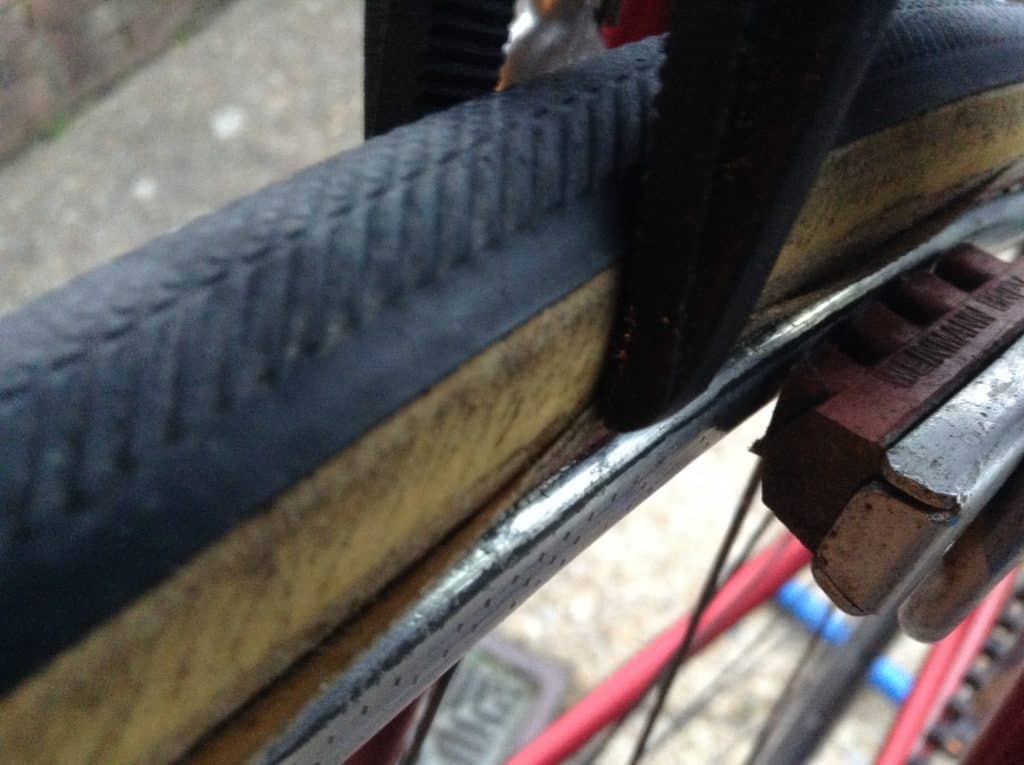
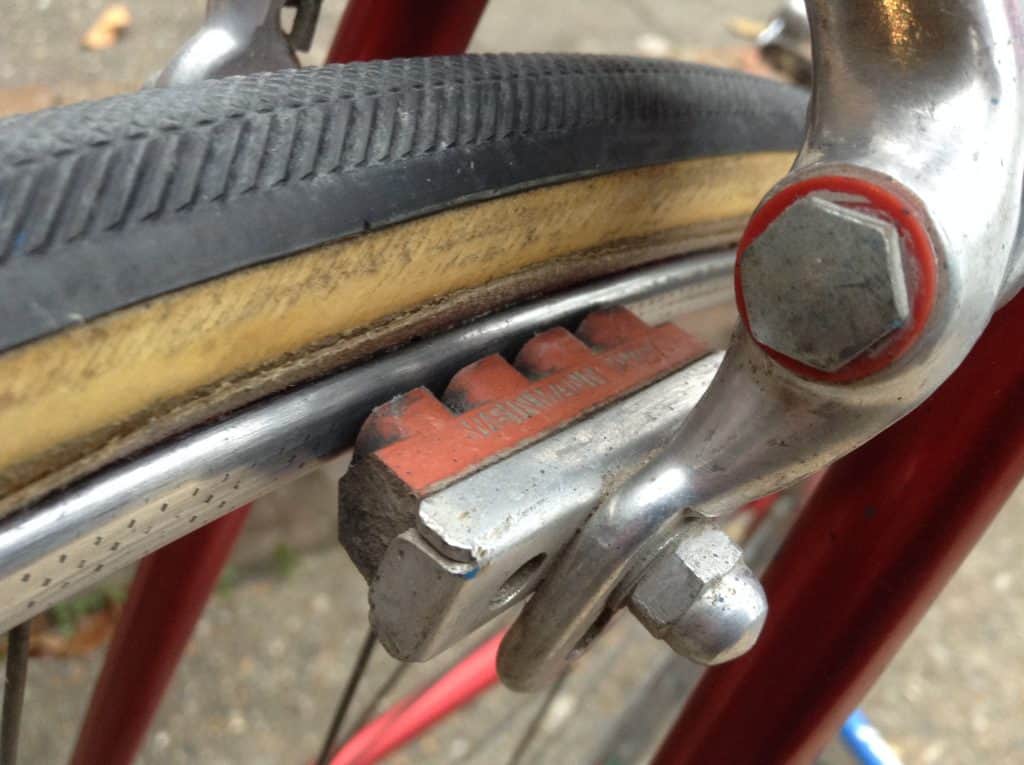
On the side wall of a tubular tyre, there is often a trim that should be attached to the wall by glue. Over time, this trim can come loose and end up hanging to the side of the tyre wall, a sure sign that the tyre is becoming worn. It both ruins the look of the tub and also has two practical implications: the loose trim can get between the brake pad and rim itself, causing brake malfunction; also, it weakens this area of the tyre that needs as much protection as possible, from the effects of water and brake pad damage. I’ve seen many tubular tyres in this condition, it is a very common aliment of these types of road tyres, but it can be easily restored to provide lost more miles of riding.
Step One: Regluing
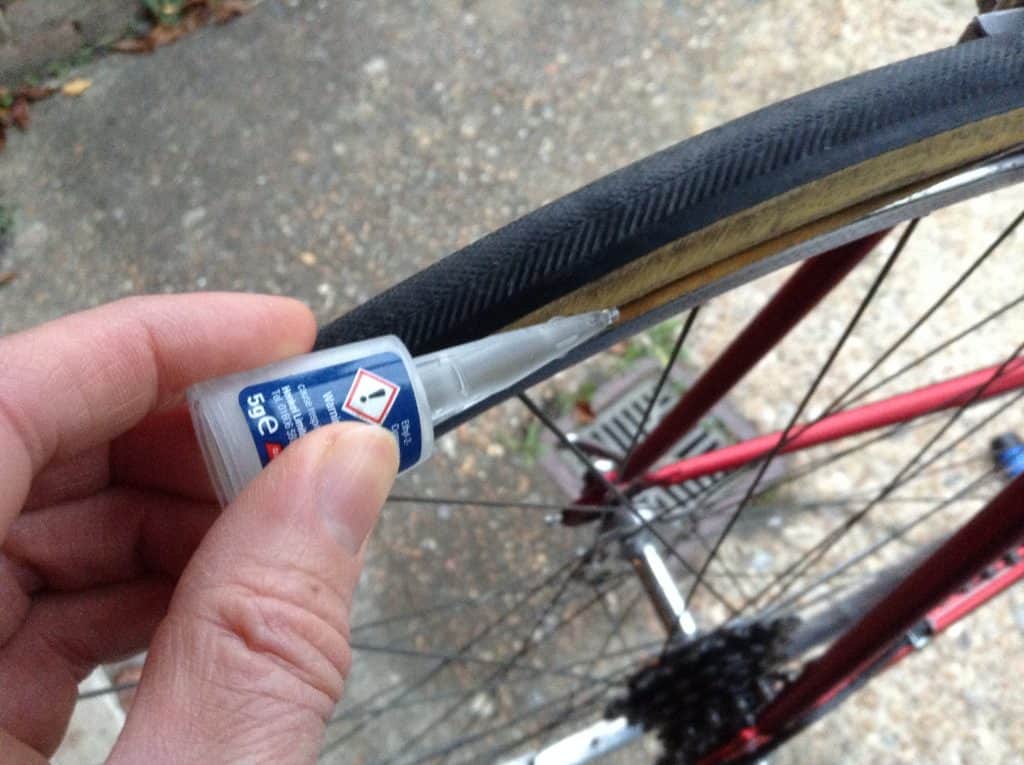
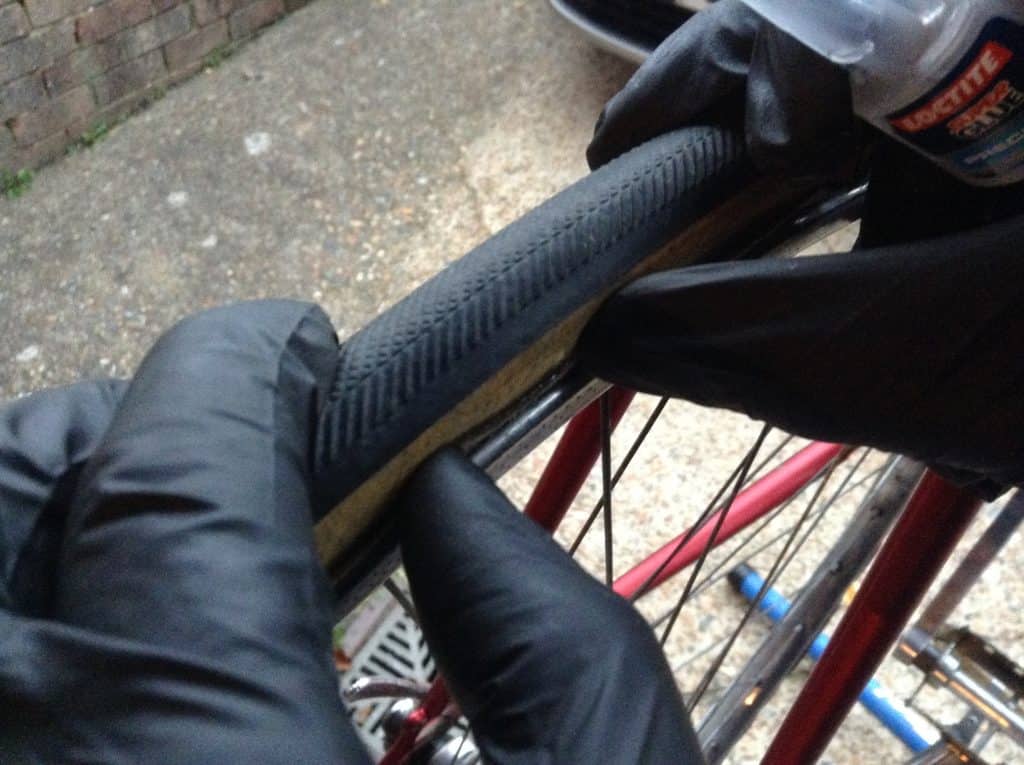
First off, have the tyres at half pressure. They shouldn’t be completely flat and neither should be at maximum pressure for the job. The best place to do this is on a bike stand, but it can be done with the wheel out of the bike. It has to be a strong glue to reattach the trim back to its original position, so Super Glue is the best option. The best way to do it is in small parts at a time, gluing 2cm areas and holding the trim firmly onto the tyre wall for at least 1 minute. Make sure not to get any glue onto the rim itself, and to use just enough glue for the job. There should be no glue on the rest of the tyre, especially on the tread. Above all, be careful not to get it onto your fingers, or end up gluing your gloves to the tyre.
Step Two: By Hand and Tool
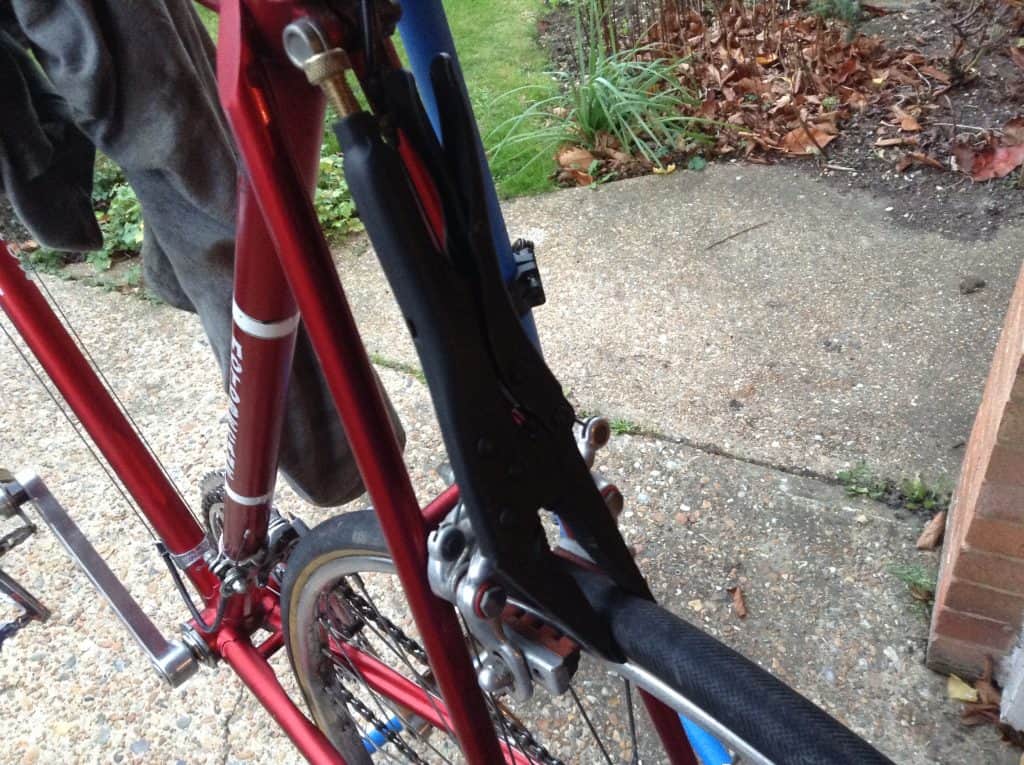
Once you add the glue, press the trim on either side of it to begin its reattachment. You might find it’s quite stubborn to stick back, so a good idea is this: hold it by hand as above for about 20 seconds, enough so it is beginning to stick, and then take a tool, preferably an adjustable clamp, to keep it firmly in place as you go onto the next section. The clamp should add enough pressure to seal the trim back firmly, but not to damage the tyre. In other words, imagine the pressure of your two fingers doing the job as an idea of how the clamp should be applied. I used a locking grip wrench, which is handy as it can easily be unlocked and locked again for working on each section. Roll the wheel backwards to the brake caliper and lean the tool against it. Now you can go to the next section while the one you’ve just completed sticks.
Conclusion
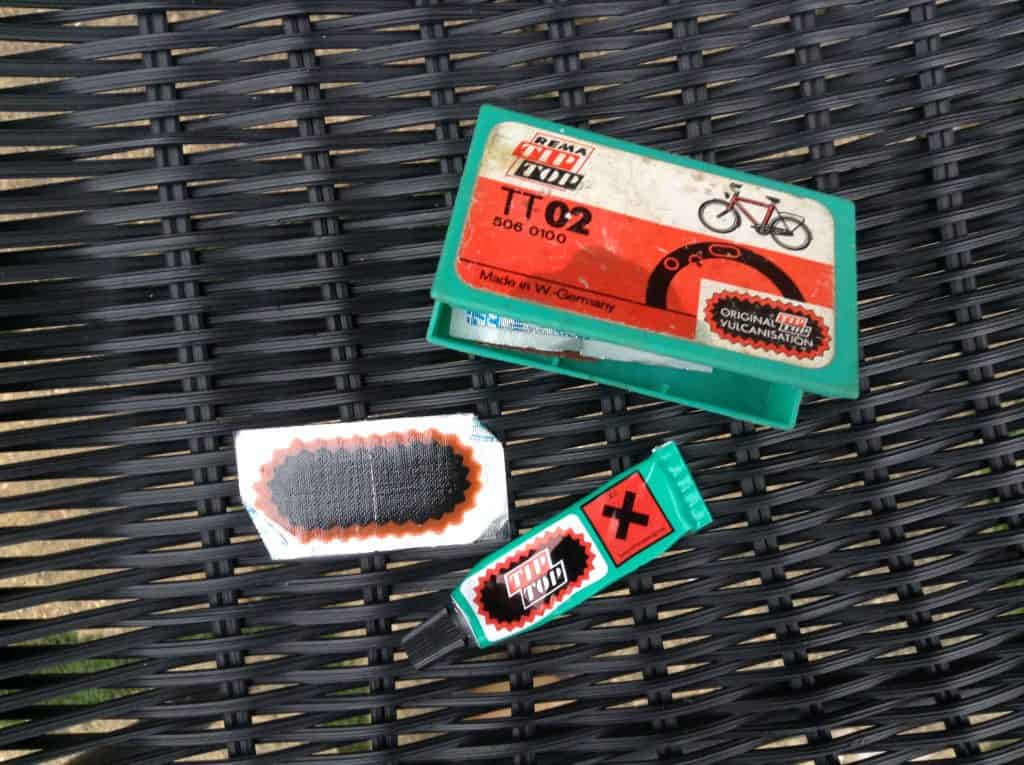
Depending on how much of the trim was loose, it can take a while to complete this gluing job. Going around 2cm at a time took me about an hour to repair half a wheel, but it worked a treat. The trim on this tyre had been rubbing against the brake pads, and in fact, it was sticking out so much that I wasn’t able to true the wheel properly as trim overhang blocked the view of the contact point between rim and pad. Once glued back, the trim may not be attached perfectly as it once was when new, but you can get it pretty close, protecting the intercity of the tyre and enabling you to ride on it for many more miles. But don’t forget to carry a repair kit!


Recent Comments