
Few Instructional Videos For Vintage Bikes
If you have a vintage bike and need to replace your older tubular tyre, it’s not so easy to find a video about how to glue tubular tyres of aluminium rims. Why? Well, it’s because most videos and instructional guides are made for carbon fibre wheels, which are obviously more common and relevant to the needs of the modern cyclist. It also reflects the dominance of clincher rims when it comes to bicycle tyres these days and the fact that vintage tubulars are very much now a specialised interest, mostly limited to collectors of high-end vintage bikes. You have to track down Continental’s aluminium rim mounting video by going here on their website.
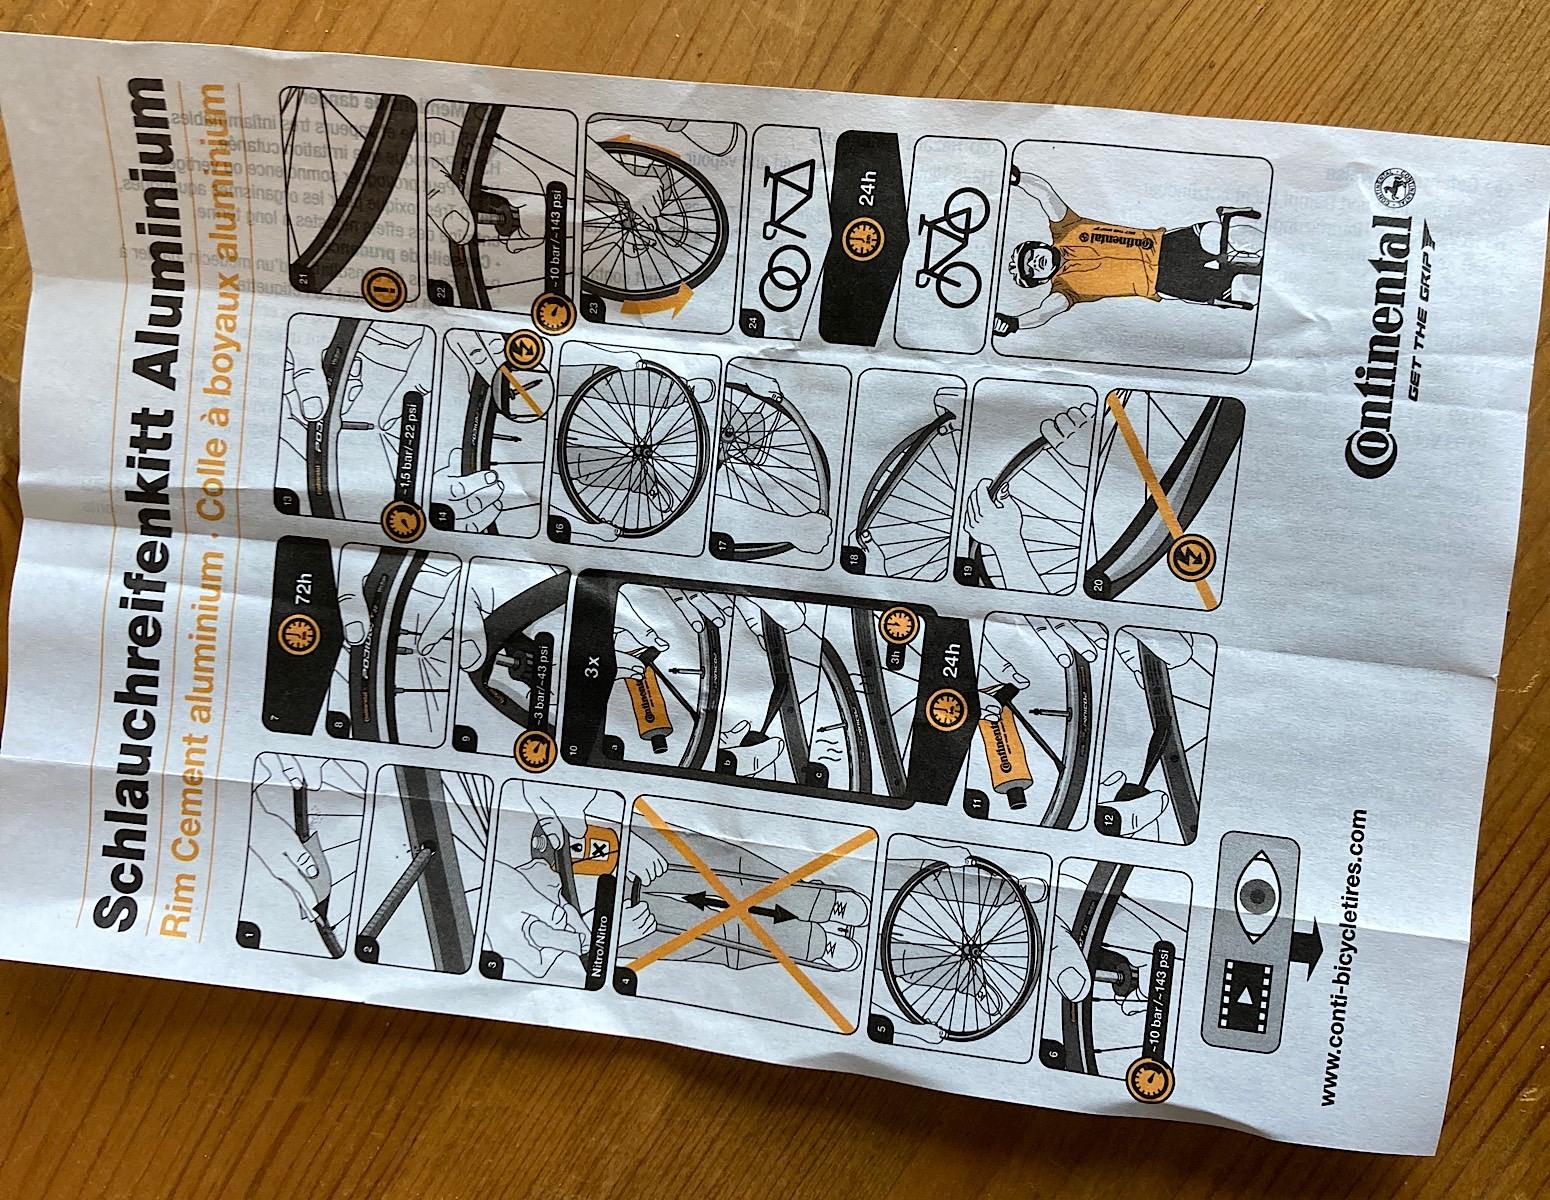
If you read hieroglyphs it does help
Why I Made the Video
I was actually unsure of the instructions provided by Continental applied to my old vintage rims and tyres. The reason is because when I read the instructions that came with the glue this time, they were quite different to the ones that were provided a few years back. The new instructions were this: apply the glue three times to the rim and tyre; wait 24 hours for curing, then do one more round of gluing before mounting the tyre. So why the changes? I made a video a few years ago which followed different instructions by them, basically by advising the user to glue the tyre to the rim after waiting for just 20 MINUTES. What’s happened in the few years between these videos? Why has Continental changed their gluing instructions?
I Reached Out..
I wrote to Continental to see if they would give me information and collaborate with me with this issue, but they never replied to my email. That, my friends, is bad policy, poor customer service and to me, a lack of interest in the needs of its clients. I like their products and I think the tubular tyre glue they make is good quality, but come on, at least reply to someone with a specific need and a proposition to discuss their product. I’m disappointed, but I hope my video will help those who have older rims or an older tyre to replace. If you have an old tubular in storage, you still may be able to use it.
The Older Video
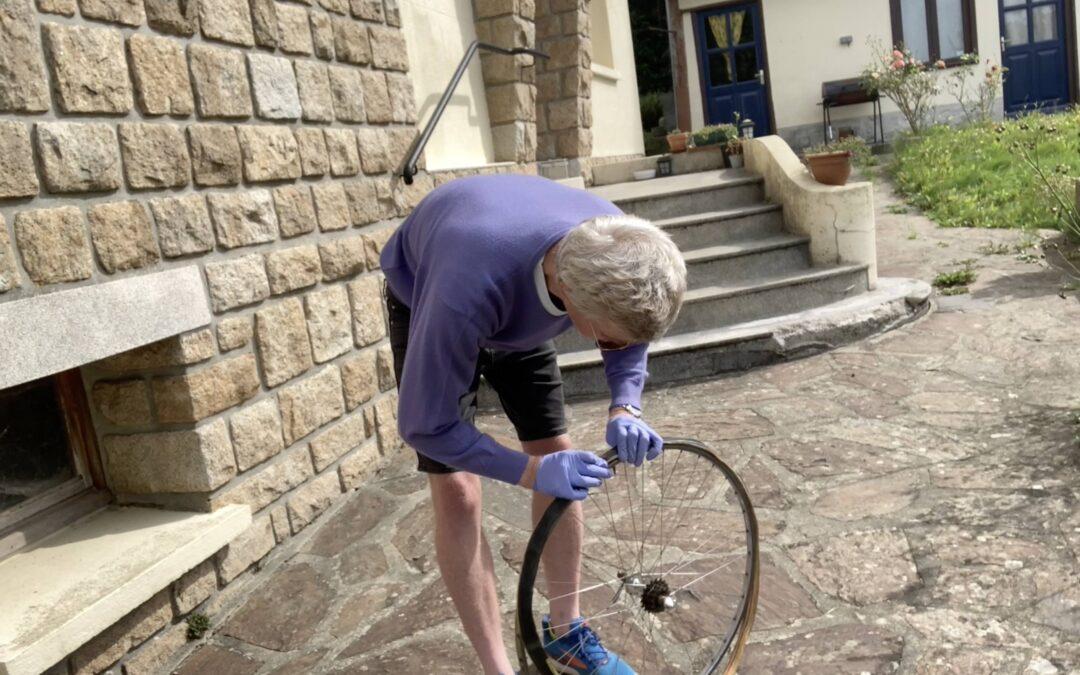
Replacing tubular tyres is a messy business, and installing a brand new tyre can be a difficult challenge as they can be difficult to fit on the rim. Continental tubulars are notoriously hard to install, and if you are in a battle of pushing and pulling the tyre into place you’re sure to get glue on your hands and on the tyre itself. Doing it cleanly and without much of a struggle just isn’t realistic, and I also think that tubulars are the least practical and most likely tyres to cause complications when fitting. You can also have complications with the side walls of old tubular tyres. As for my older video now that Continental have changed their instructions, I see it as rather defunct, now all other instructional videos advise curing the glue for 24 hours, instead of 20 minutes!
I’ve been riding tubulars for over 50 years now and have never rolled one. I now use Continental glue exclusively, which I buy in 350 gr tins. I think the change in gluing instructions likely stems from liability concerns, but I think the earlier instructions were just fine, as I have found that I need to get a tire started with a tire lever to get it back off the rim. First off, be sure you are inflating tires hard on a scrap rim and leaving them for as long as possible before mounting. Store them that way if you have enough junk rims or spare wheels. This will avoid the struggles you had getting that tire on the rim of your PX10. Older tires tend to stiffen and shrink, making this especially important, and some, like Conti Sprinters, are notorious for this. My technique for tires smaller than 28 mm is to spread a coat of cement on the rim, setting it aside while I brush a coat onto the basetape of the tire. I take my time with this step to ensure the basetape has a good coat of cement (it tends to soak in), and by the time I am done, the cement on the rim should be close to ready. Once I’m sure the rim coat is no longer sticky to the touch and the basetape coat is at least almost there, I add another light coat onto the rim, then stretch the tire on immediately. The wet coat allows adjustments as necessary. I then leave the whole thing to dry at least overnight. As with most coatings, multiple thin layers will provide better performance than just a few thick ones, and with tubular rims, I’ve found that washered and half-ferruled rims provide a more even mounting surface than the full-ferrules of better quality rims, which stand up a bit proud of the tire bed. There used to be corks available that could be fitted into the spoke holes of the rims without full ferrules, which would support the tire, provide more gluing surface, and keep the basetape from chafing against the edge of the hole but those seem to be a thing of the past. Larger profile tires and cyclocross tubulars should have additional coats of cement, as they are more prone to rolling. Some regimens for gluing cross tires involve using both cement and adhesive rim tape, together.
Thank you for a really helpful advice for gluing, it’s always great to get the techniques of people who have being doing it for years and who have some expert views. The next time I change a tyre, I’ll follow your tips. Thanks!