Stronglight
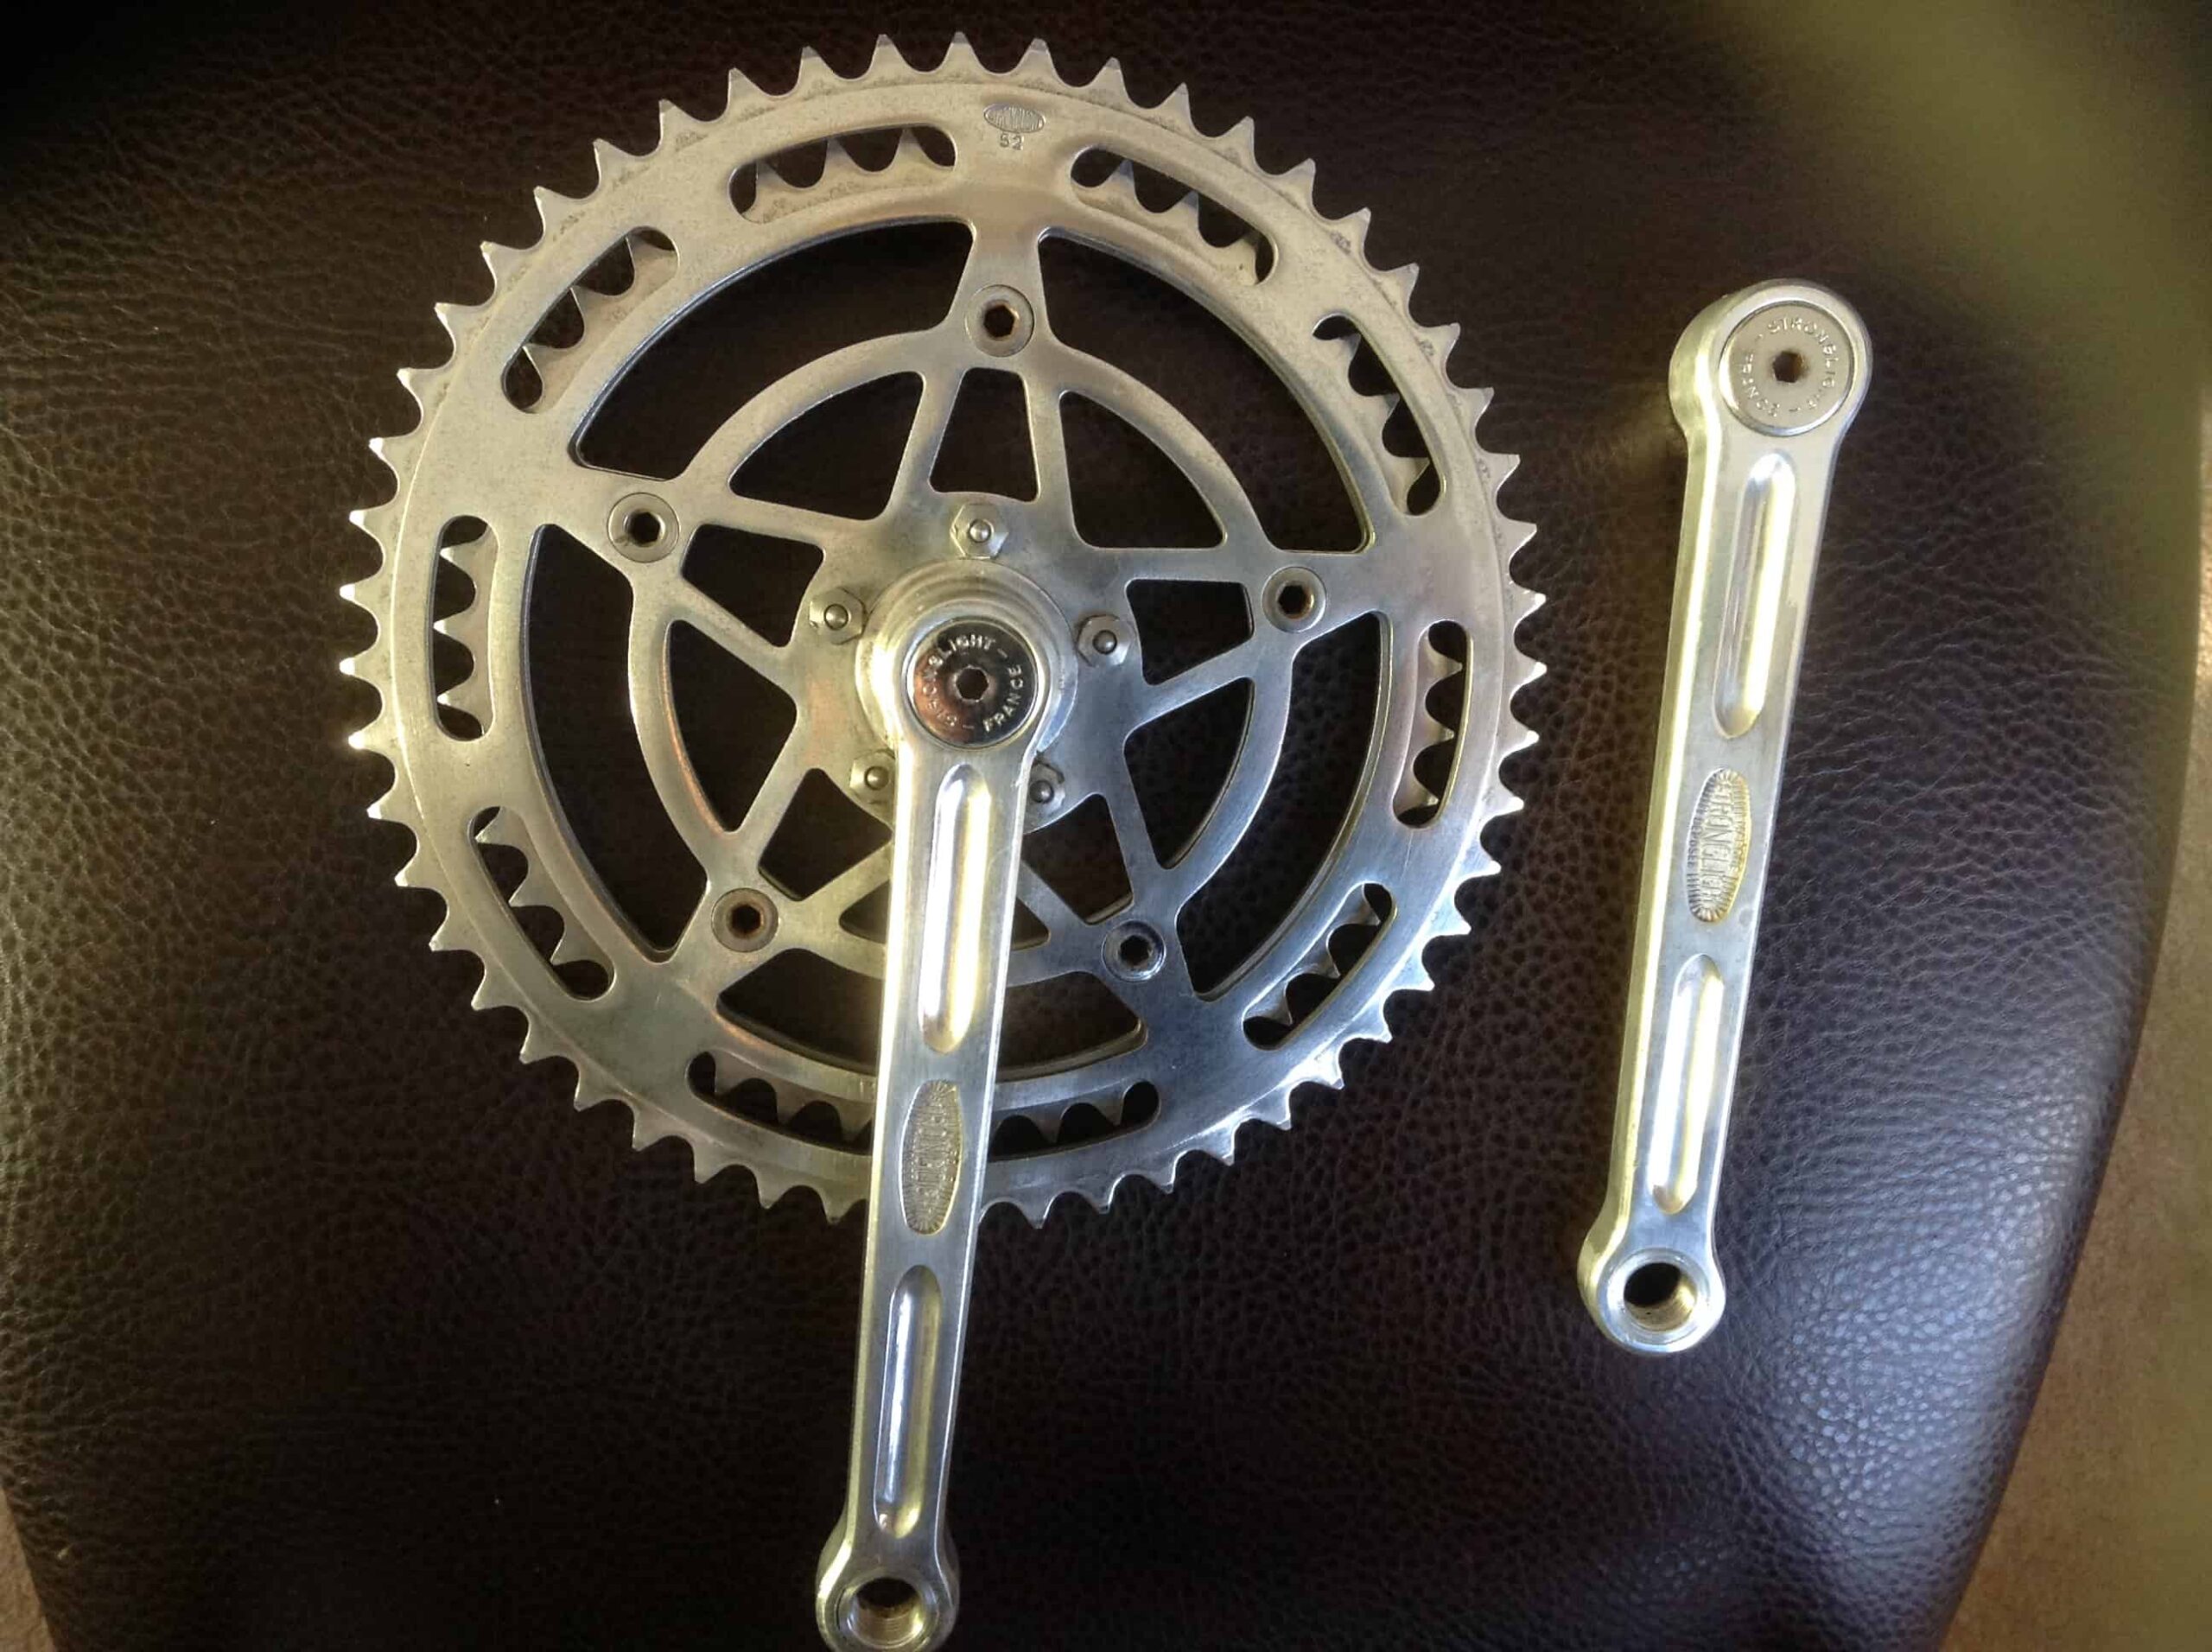
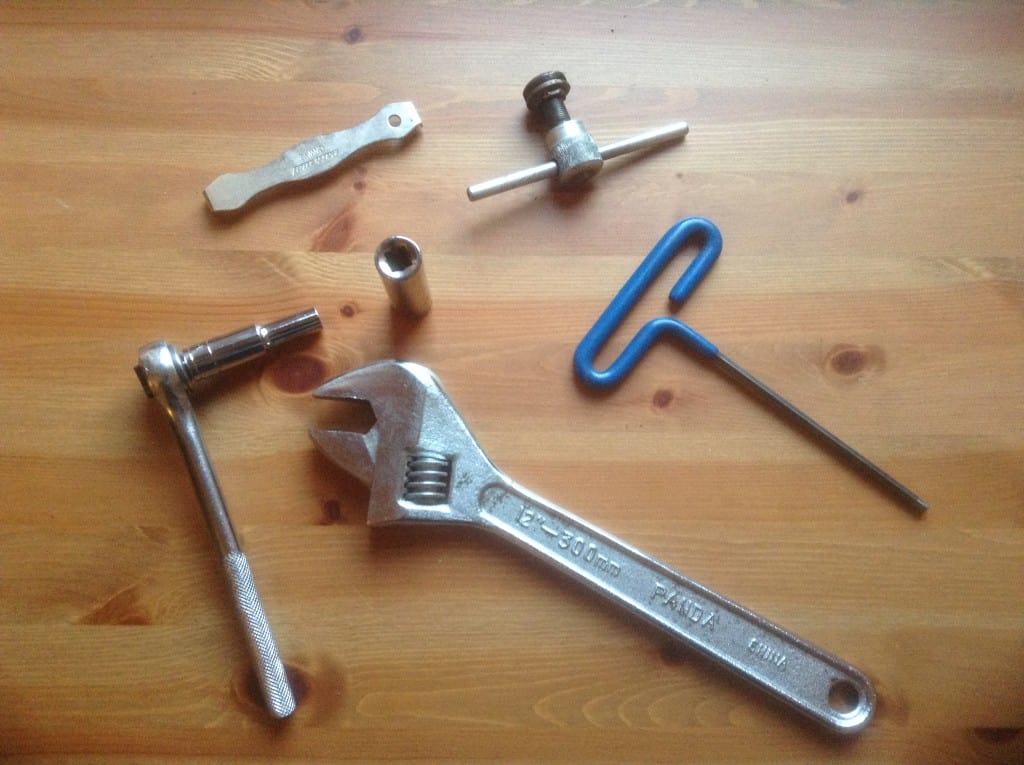
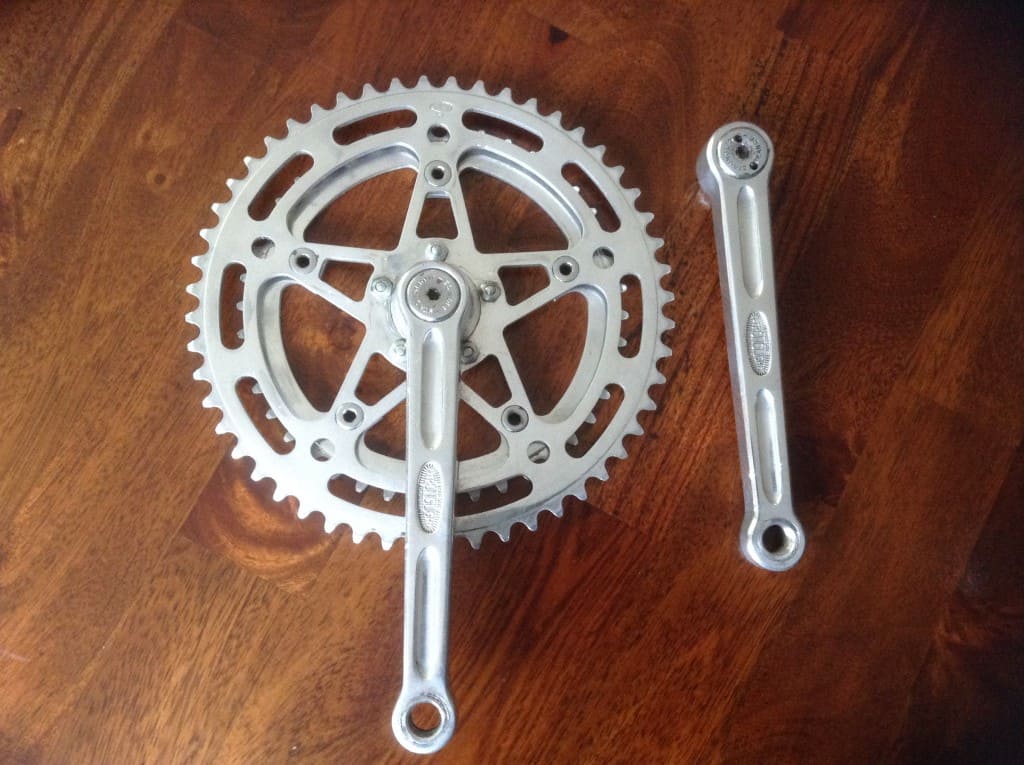
Stronglight made some of the best cranksets in the age of steel road bikes. Based in the heart of the cycle industry, St Etienne, the 49D, 93 and 105 cranksets were some of the best ever made, by a company that was competing with the very best Italian manufacturers of the day. Removing pre-1982 Stronglight cranksets, however, can be a tricky business. What more can test the limits of how much you like these older cranks, than to have one stubbornly refusing to come off? I’ve personally removed about thirty or so of these cranksets over the years and encountered a number of problems when dealing with their removal. These can prove to be quite a challenge to even the most seasoned mechanic. First off, below is a picture of what tools you will need.
Tools
A Park Tool CNW-2 chainring bolt wrench, a 16mm socket and ratchet, a large adjustable wrench, a 23.35 crank puller and a 5mm Allen key. The crank puller is a tool which you’ll have to buy new from a specialist part seller, unless you can find a vintage puller like the one I managed to find. J.A Stein make them and they’re quite expensive and should not be confused with the slightly smaller T.A crank removal tool which is 23mm. These older tools are prone to wear and the flats can become rounded if care isn’t taken when using them, I don’t think they were made for constant use and decades of service.
Dust Cap Removal
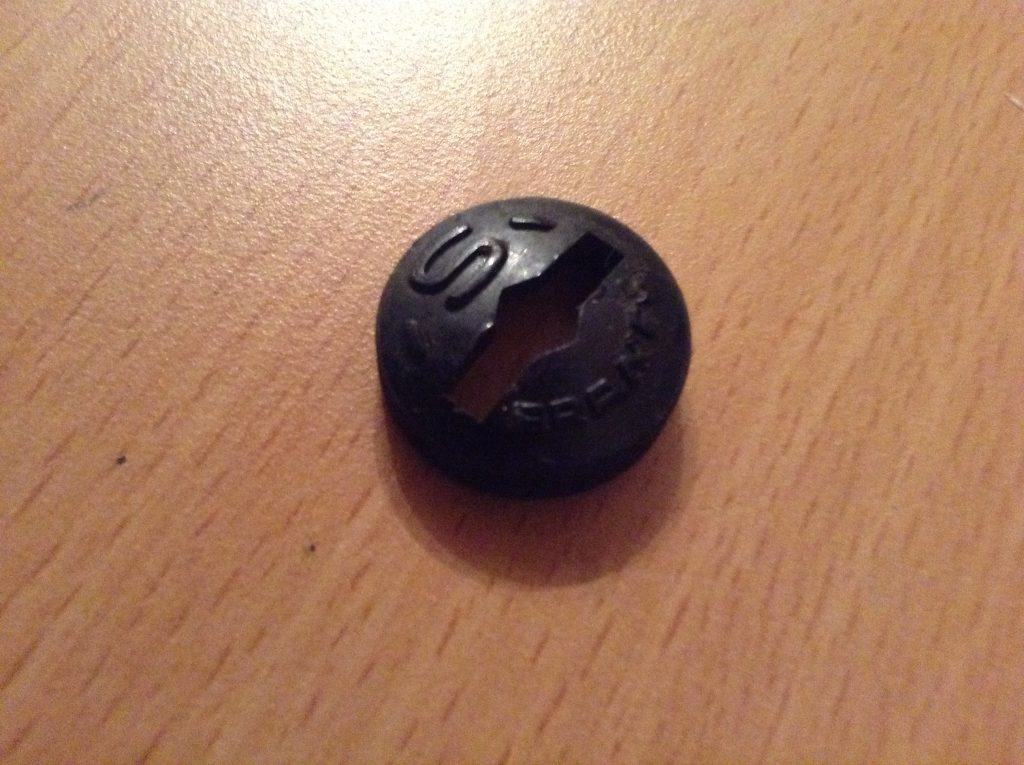
Problems can start from the get-go, in the shape of the stuck dust cap which I’ve encountered a number of times. These little covers can be a nightmare to remove, if not approached with real care at the first attempt. They naturally get stuck on there after many years, and the allen key hole is liable to damage. You have to make sure your allen key sits straight and has as much contact as possible with the flats. Any looseness in this contact will most likely cause the key to slip and damage the hole, and if you do this just a few times you will be faced with a rounded hole. My advice is to first use some penetrating oil, then try turning the Allen key slowly, keeping it straight, and hopefully they will turn. If the flats do get rounded, you’ll have to resort to drilling out two small holes in the caps to get them off.
The Removal
The other type of dust cap, with a narrow slit that looks like an easy job, can also cause frustration as the hole can be easily nicked and widened by the wrong tool. I’ve always used a coin held in a pair of pliers, which seems to get good contact and fits better, rather than use a screwdriver which can quickly ruin the process of getting them off. Once these caps are off, you’ll need your 15mm socket and a good sized ratchet to remove the crank bolts. It may take quite a lot of force to remove these, a mallet can help if they are stubborn. Once these are off its time to use the Stronglight crank puller.
Pulling the Crank
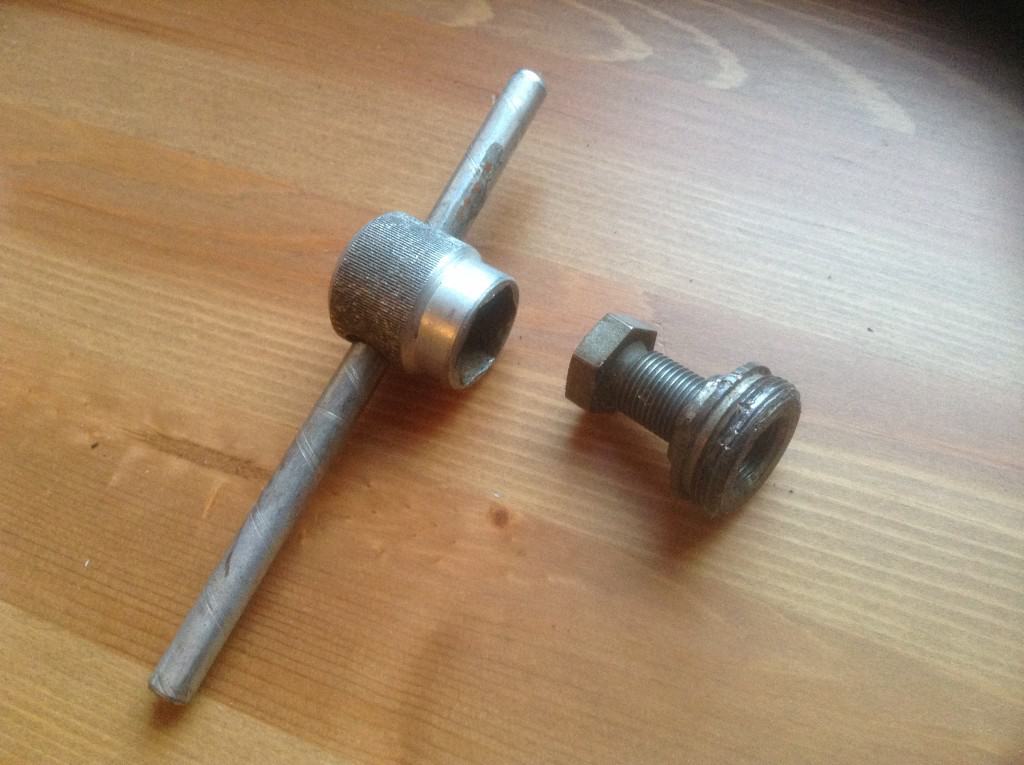
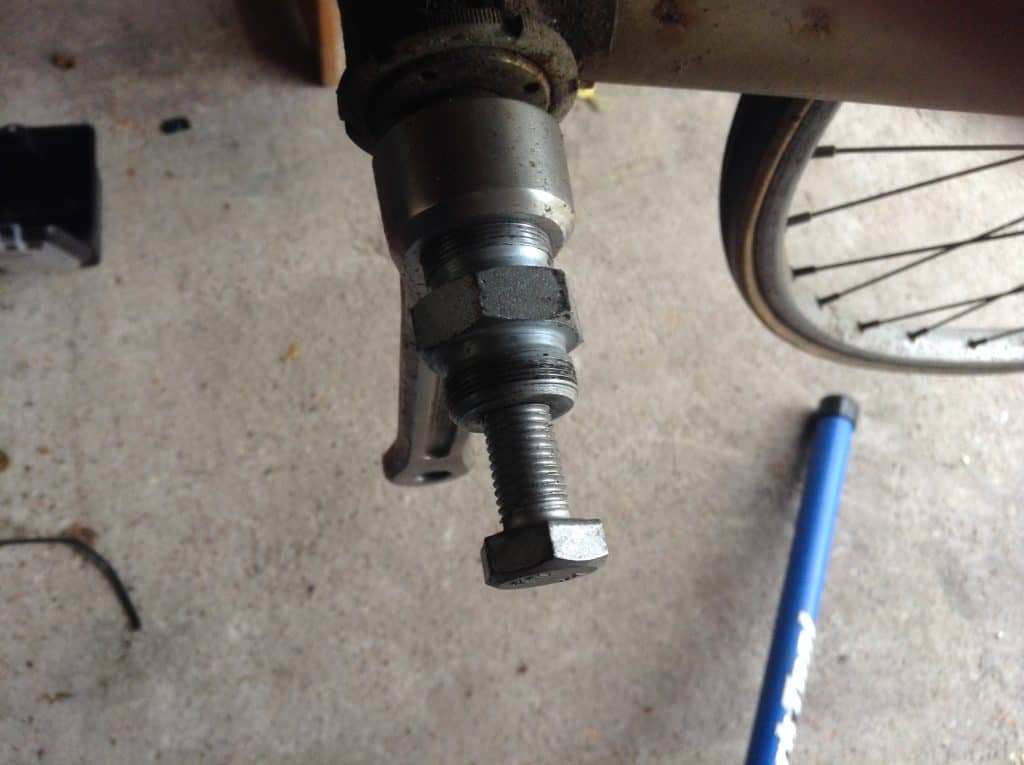
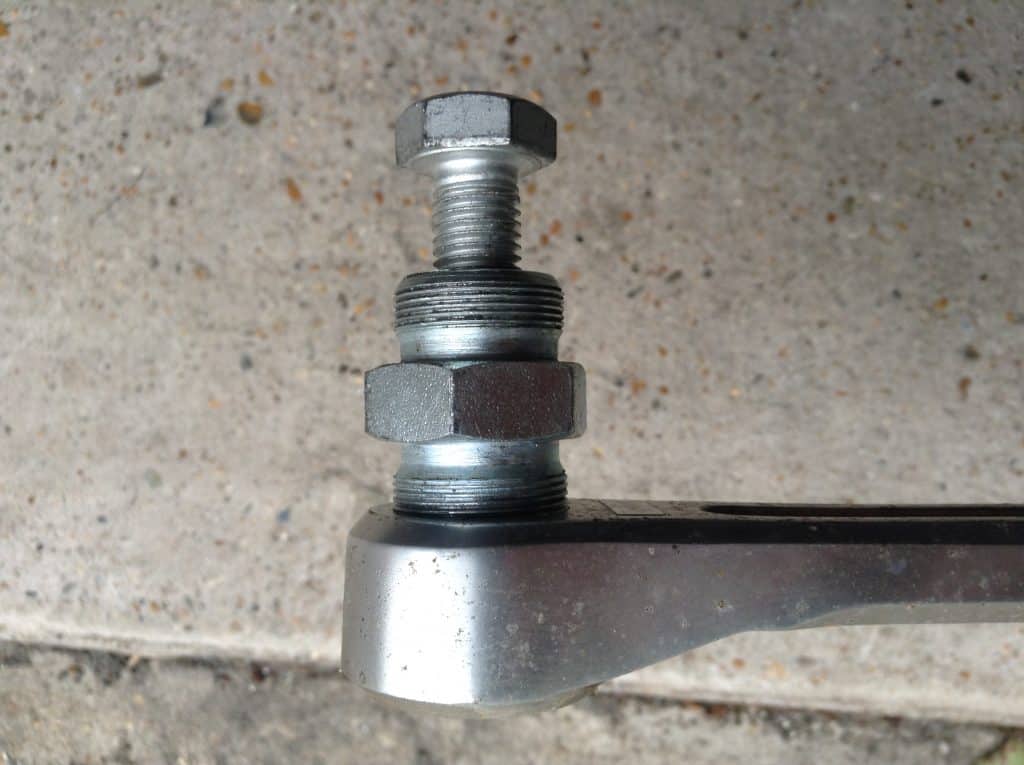
My puller was made with an optimistic bar extension for torquing off the arms, but unless you have superhero strength you’re going to have to use a large wrench. Here’s a tip: if the dust cap comes off off loosely, or slips on the threads as you remove it, you will probably not get the crank off. This is a sure sign that the threads are damaged, and chances are that the removal tool will slip accordingly. The removal tool must be threaded as far in as possible, otherwise the few threads you are applying the pressure to won’t be able to retain the force of the puller. They will quickly peel away, and your one chance of removing the crank will be gone. Turn the puller clockwise and watch that it is the crank that is loosening and not the puller coming off the threads.
Luck Plays a Part
Recently I got a Stronglight 49D crank off with the puller unable to thread all the way in, see the picture above. I was depending on about 4 threads to take the pressure, and hoping the crank wasn’t on really hard. I got lucky, and it came off, but I’d say it was a 50/50 chance it wouldn’t. It is very true that luck will play a part; Stronglight cranks were not made with removal as a priority in their design, and it will come down to whether they’ve been messed with before, if they are on really hard, or if the crankset on your bike was, frankly, not particularly well made.
The Final Bit
Finally, once you’ve got both sides of the crankset off and haven’t smashed your knuckles against the chainrings, you may want to give the it a clean and take the chainrings off. The chainring bolts have a tendency to get stuck in their threads, so you’ll find your turning continuously but the bolt stays inside its socket. This is where the Park Tool CWN-2 comes in handy. It holds the socket while you turn the bolt, allowing you to twist the bolt with enough force to release the bolt from the threads. Sometimes these bolts can be really stuck in there, so try soaking them with penetrating lubricant before you start. I’ve sometimes found myself standing with my foot pushed down on the top of the crank, so to have the CWN-2 firmly in place, while turning on the bolt. It sounds unorthodox but it works!


Dust caps can be replaced. Bespoke Chainrings from Australia does 23.35, TAs and generic 22 mm.
http://www.ebay.co.uk/itm/Stronglight-23-35mm-Polished-DUST-CAPS-for-vintage-cranks-49d-63-93-99-TS-Bis-/253083959187?hash=item3aecfabf93:g:dwUAAOSwIgNXofGu
In the last photo of a puller in a crank, the puller is not threaded in correctly. It is cocked slightly at an angle, which is, as we say, “cross-threaded.” This is very easy to do with these cranks and impossible to correct. One trick they taught us 50 years ago in Schwinn Factory Training School for BB threads and similar large diameter, fine threaded parts is to start by turning the part in the opposite direction (CCW for a right-hand thread), applying light pressure until you feel a light click as the leading edge of the thread drops into the other part. They called this “catching the best leading thread.” In bicycle parts, there is only a single thread, but you should get the idea. This indicates where the engagement of the threads on the two mating parts begins and starting the installation there decreases the possibility that the thread will try to start engaging in a different place, which will result in a damaged thread 100% of the time.
If you find a thread binding at all after the first turn, stop and figure out what’s going wrong. It could be a mismatched thread (English pedal in a French crank, for example), or perhaps it’s just a really tight fit, as in some Campy pedal/crank combinations. If it’s a dirty, damaged, or slightly cross-threaded situation, you might be able to straighten things out if you catch it right away. It doesn’t take very much damage at all to result in a ruined part.
I’m in the process of trying to take apart a pair of these rings. An 8mm hex spanner seems to be a loose fit on the hex end of the chainring bolt. I’ve tried three and they’re all the same. I haven’t applied any real force yet, for fear of the spanner slipping and rounding the corners. However, a 7mm spanner is definitely too small. Are they some non-standard size? Is there a special chainring tool? (I’ve googled it without luck.)
Stronglight chain rings normally require an 5mm allen key for removal. This was standard sizing for these chain rings, I’ve never come across one thst required an 8mm hex. Are you sure they are the original chain rings?
I think George is talking about bolts, not hex keys, as he used the word “spanner.” I checked an early 49D crankset I have and the bolts have reasonably accurate sized 7 mm heads and the nuts fit a 9 mm wrench well. There were lots of different companies that used this design over the years, and I wonder if the bolts might have been replaced at some point. You might see if a 6-point 5/16″ socket will be an adequate fit. It should be slightly smaller than 8 mm. You also might find half-mm sizes in an ignition wrench set.