French Bottom Bracket – Service
I’ve uploaded another repair video to youtube titled: French bottom bracket service video. I hope this is useful and can provide some easy visual steps to how best service your vintage bottom bracket. French bottom brackets have different threadings and it’s important that you know which way the cups turn before you begin.
Notes and Tools
For this French bottom bracket service, I only used two tools:
- Park Tool HCW-17
- Large Adjustable Wrench
I didn’t remove the drive side ( non adjustable cup ) on in this overhaul, because they can be very difficult to remove and the job doesn’t have to be done with both cups removed. In other words, I wanted to show the easiest way to overhaul a bottom bracket with the simplest tools. I find the easiest method to remove the drive side cup is by holding the flats of the cup in a vice and then turning the frame.
I used Park Tool bike grease which I think is good quality. I also think it’s a good idea to change the ball bearings when overhauling your bottom bracket, you can buy 24 1/4″ balls for just 1.60 with free shipping here. You’ll need 22 bearings, 11 for each side.
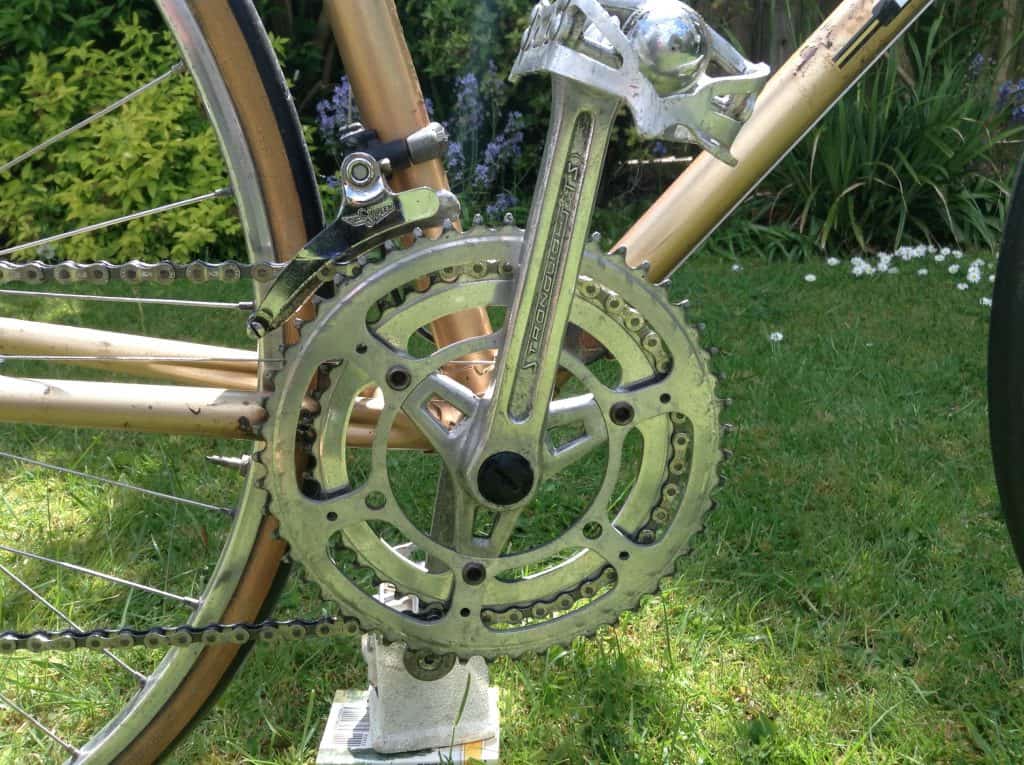
Unfortunately, it’s very difficult to find dedicated tools these days for Stronglight and other French bottom bracket cups. Indeed, finding original tools for any vintage bike is becoming increasing difficult. A C spanner would be ideal, as the cups can be often seized on and an adjustable wrench can end up rounding the flats on the cups after multiple attempts. Of course, it would be ideal to take both cups out and clean them, it just depends on how much effort is going to be involved in removing the drive side cup.
To get the right chainline, please see my page on spindle lengths.
Good luck!


I usually use a large enough plastic basin and put it under wherever I am working on ball bearings. Any dropped ball bearings could easily be contained and located. If my speaker magnet is not used, I also put it inside the basin.